VYROX Very Intelligent Platform (VIP)
Visitor
Introduction
This guide will help you register visitors quickly and efficiently. Follow the steps below to add visitor details, manage their access, and ensure a smooth check-in process.
1. Pre-registration
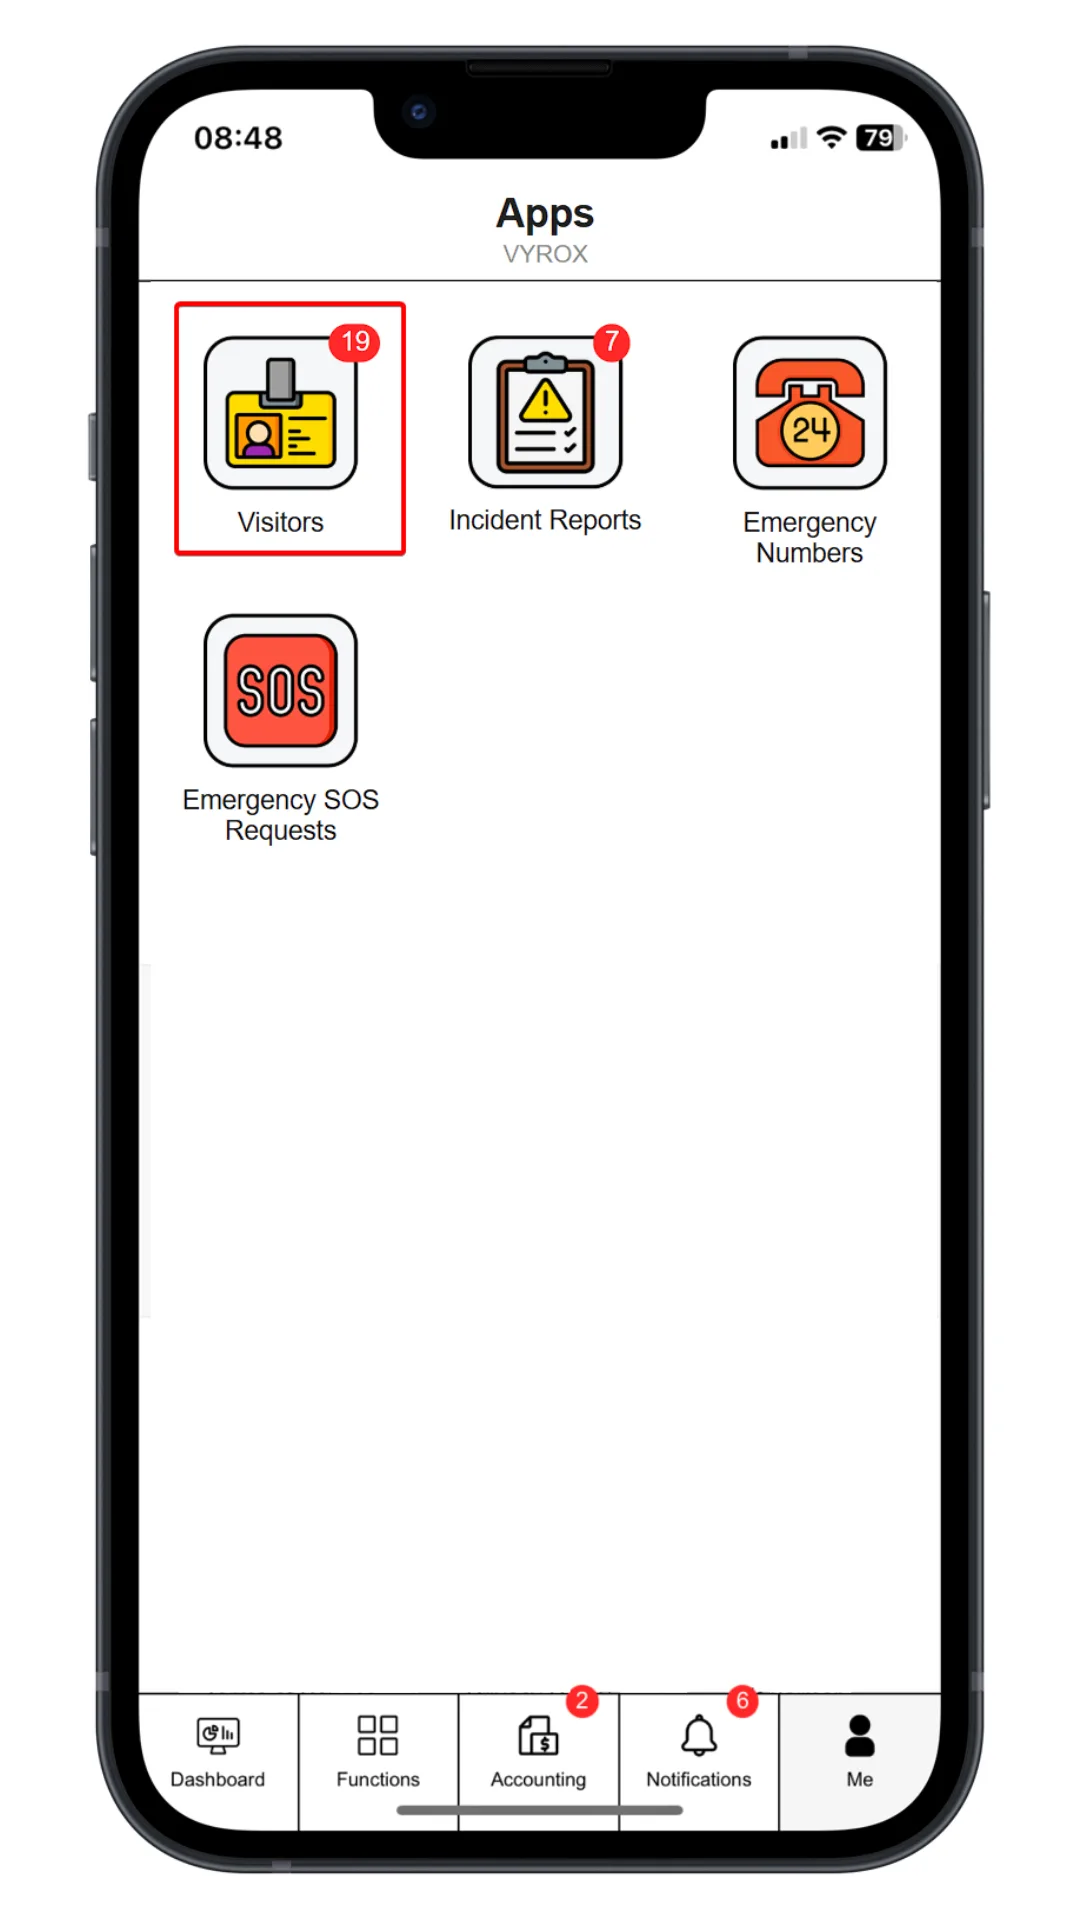
Step 1: Visitor
Click “Visitors”.
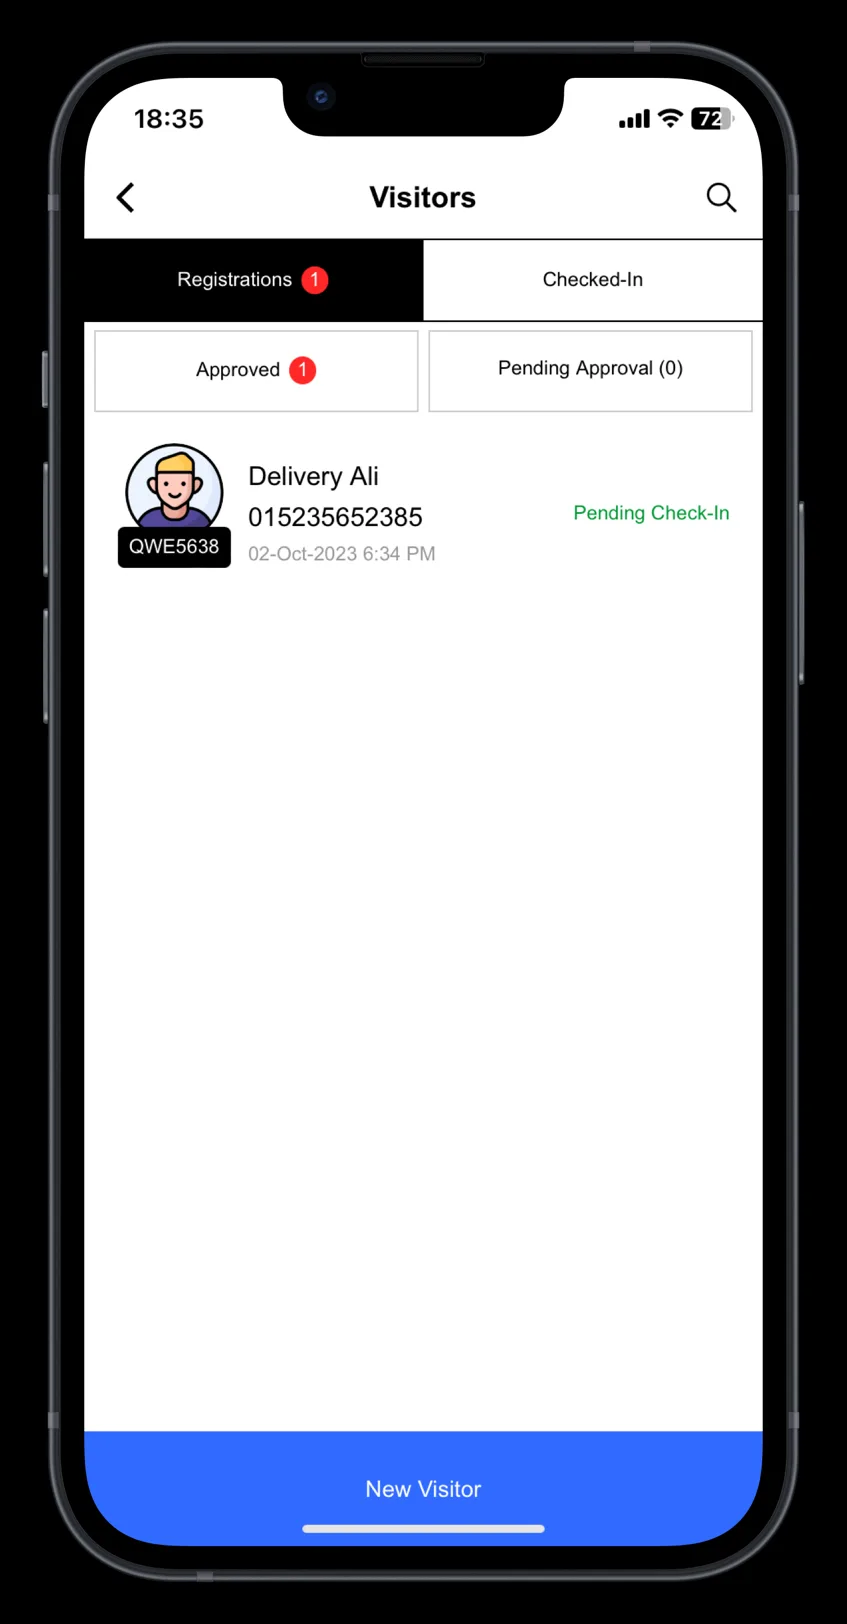
Click “New Visitor”.
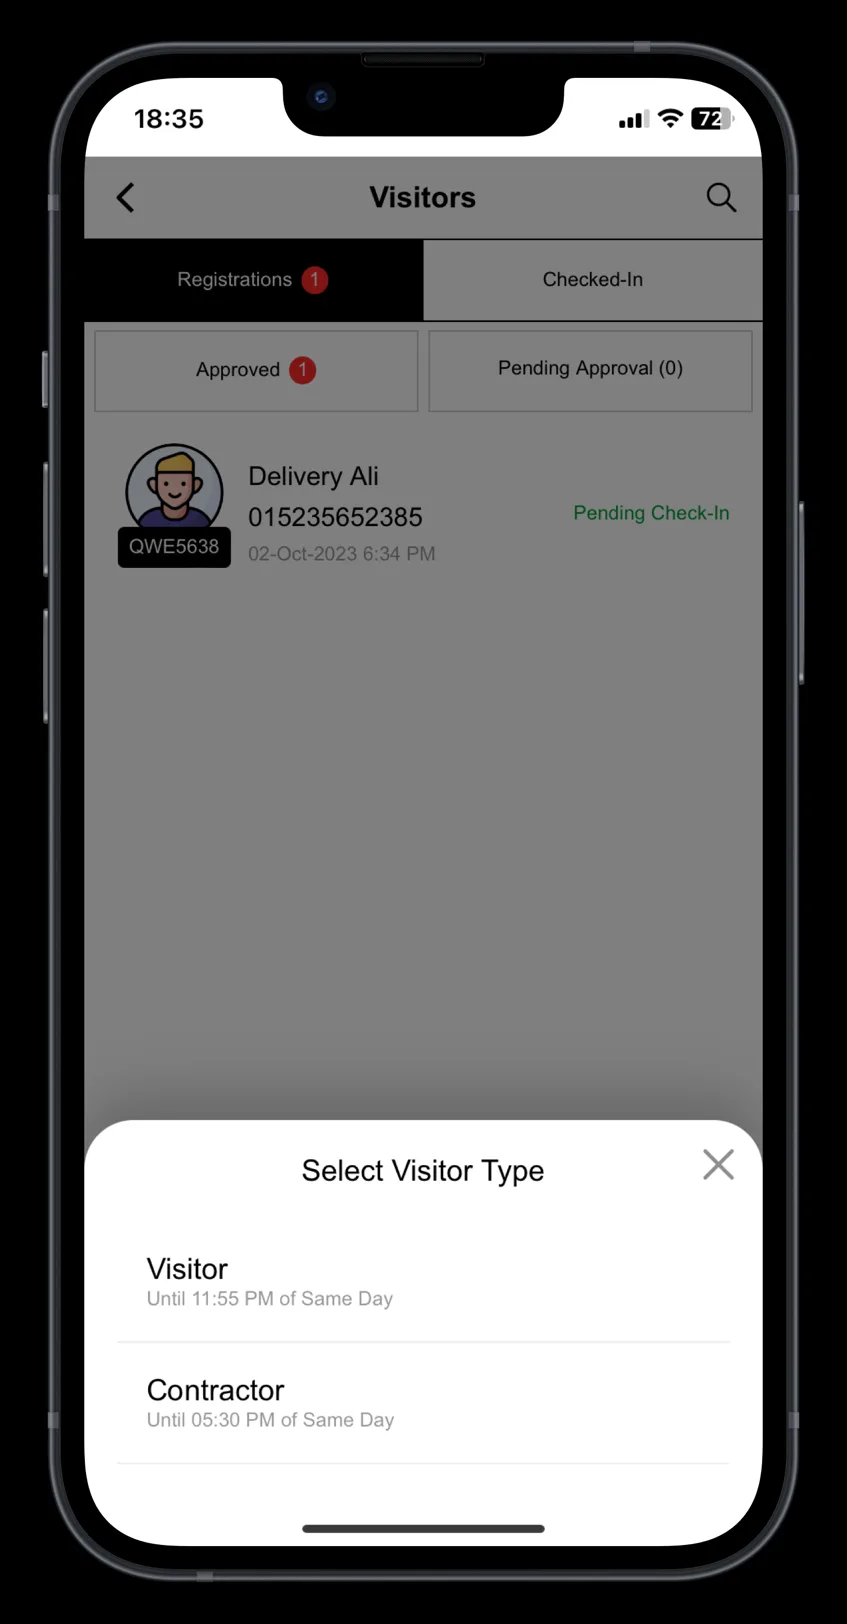
Step 2: Select Visitor Type
Visitor access: Valid until 11.55 pm on the same day Contractor access: Valid until 5.30 pm on the same day
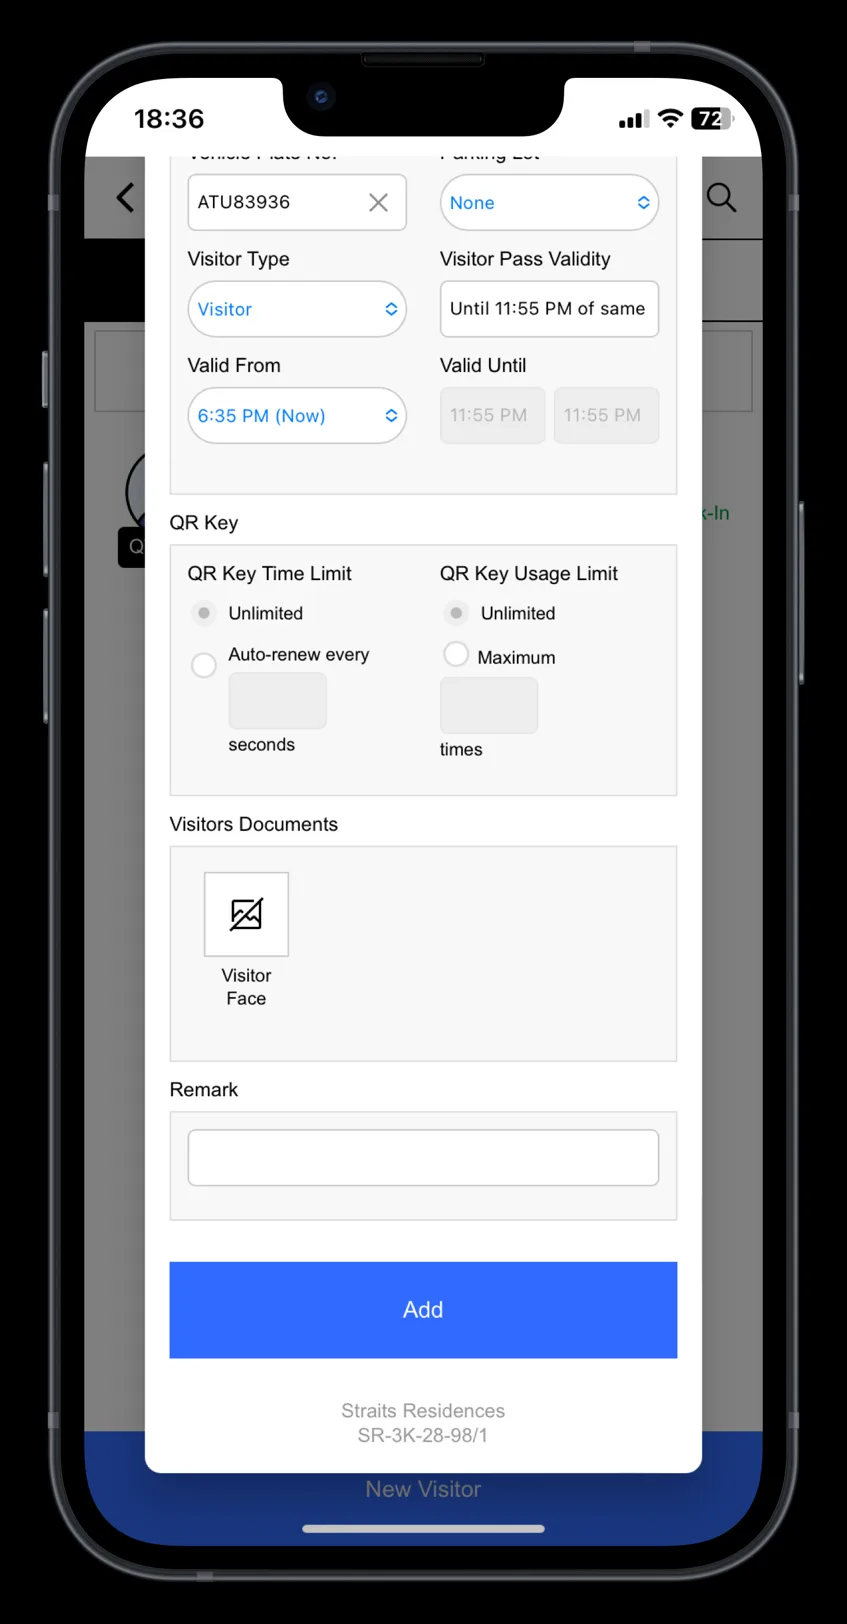
Step 3: Fill in new visitor details.
Fill in appointment date, visitor name, mobile phone no. and vehicle plate number. Click “Add” to complete the process.
2. Share digital Visitor Pass
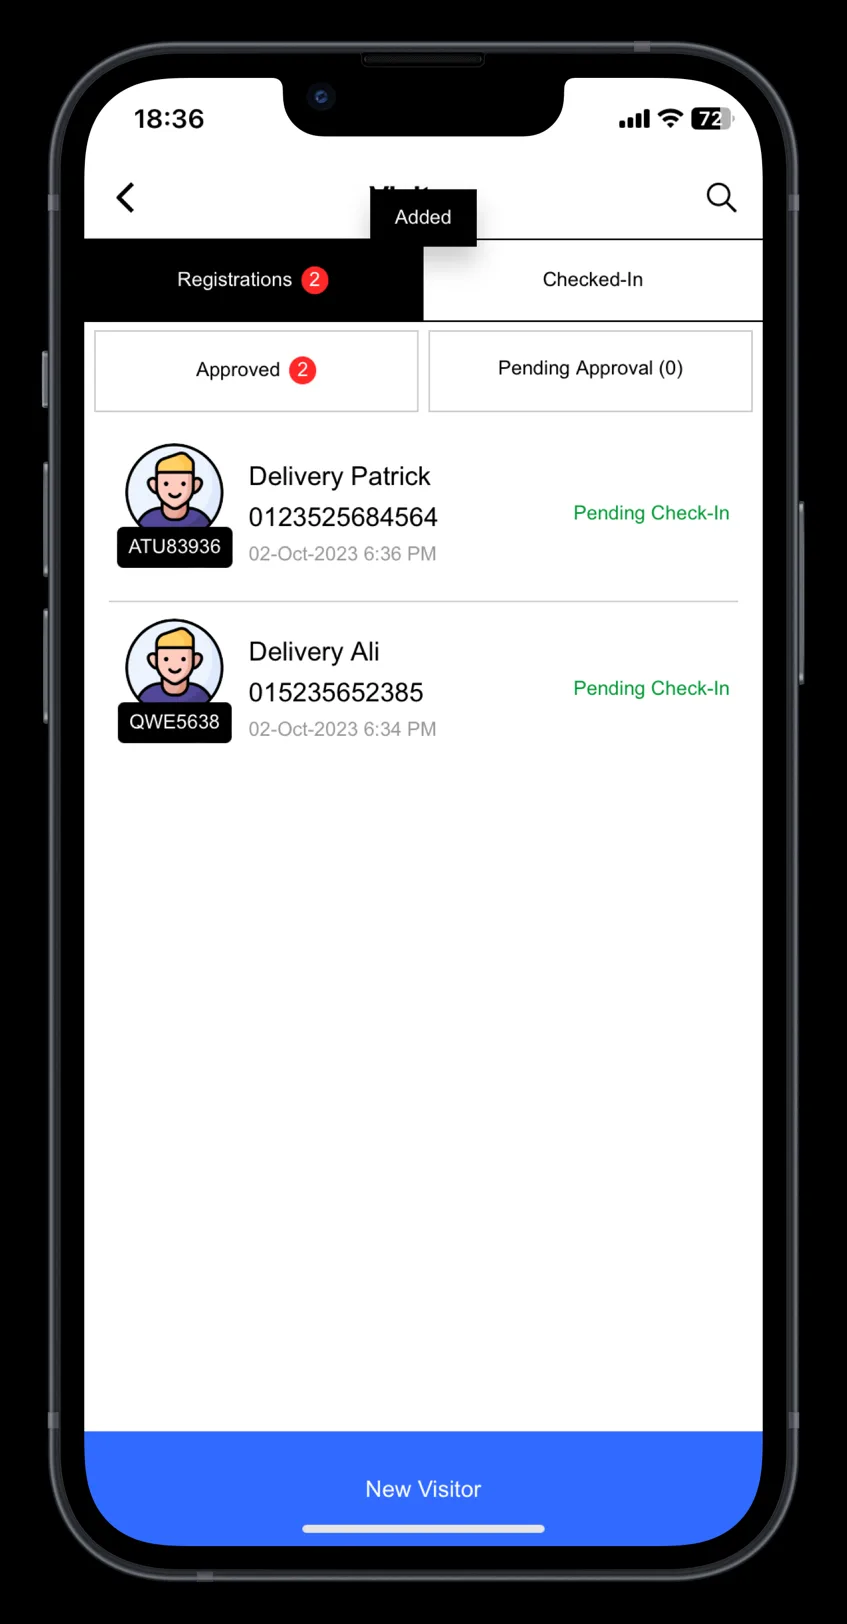
Step 4: Select Visitor
Select visitor
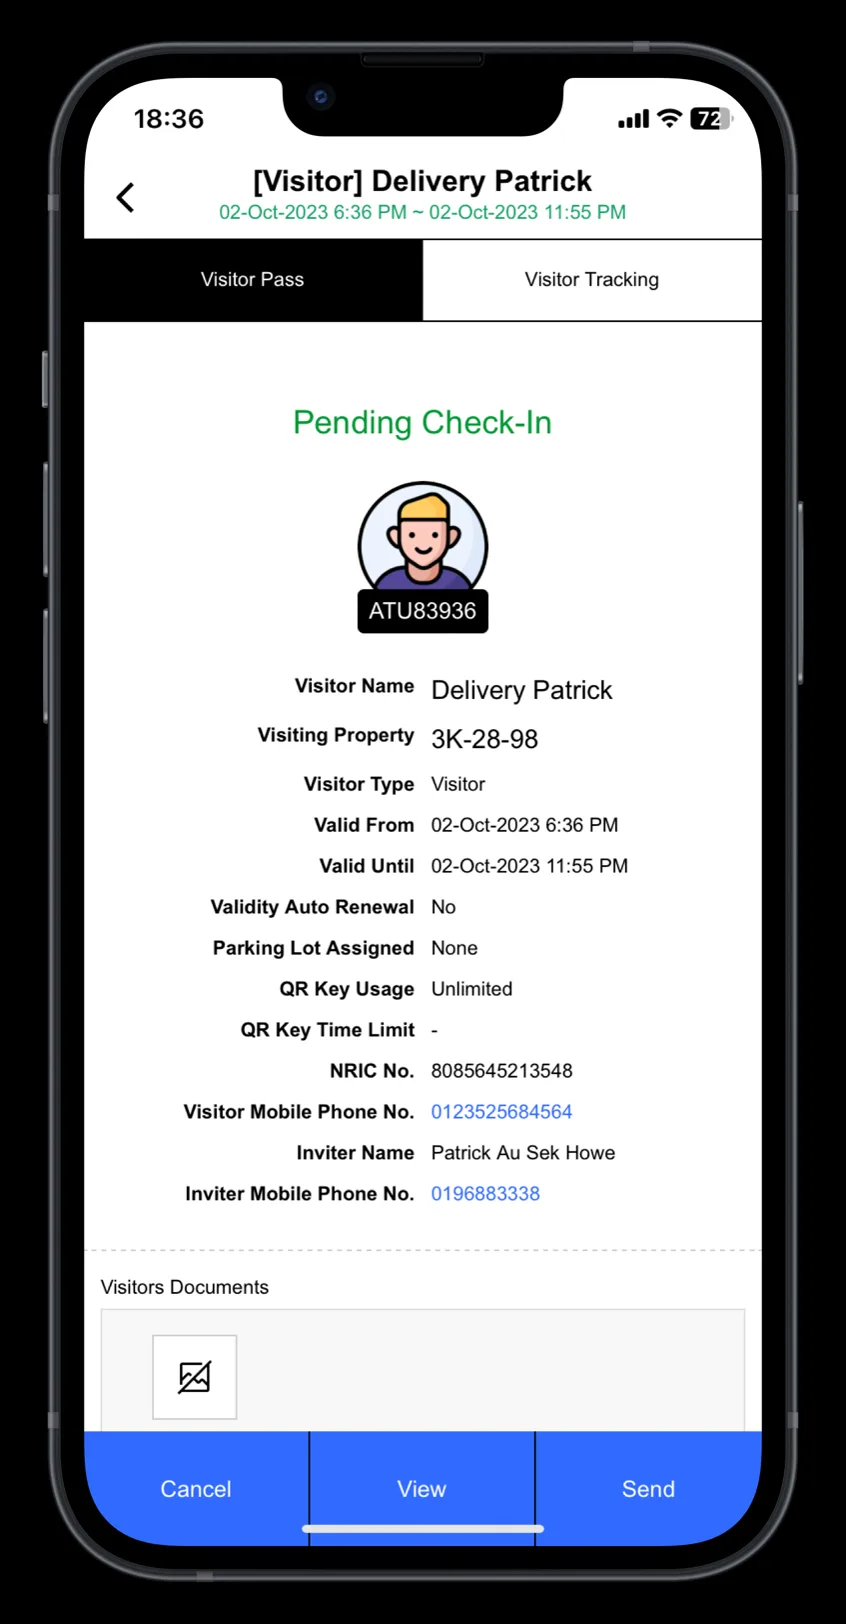
Step 5: Select “Send”
Click “Send” to share the visitor pass link.
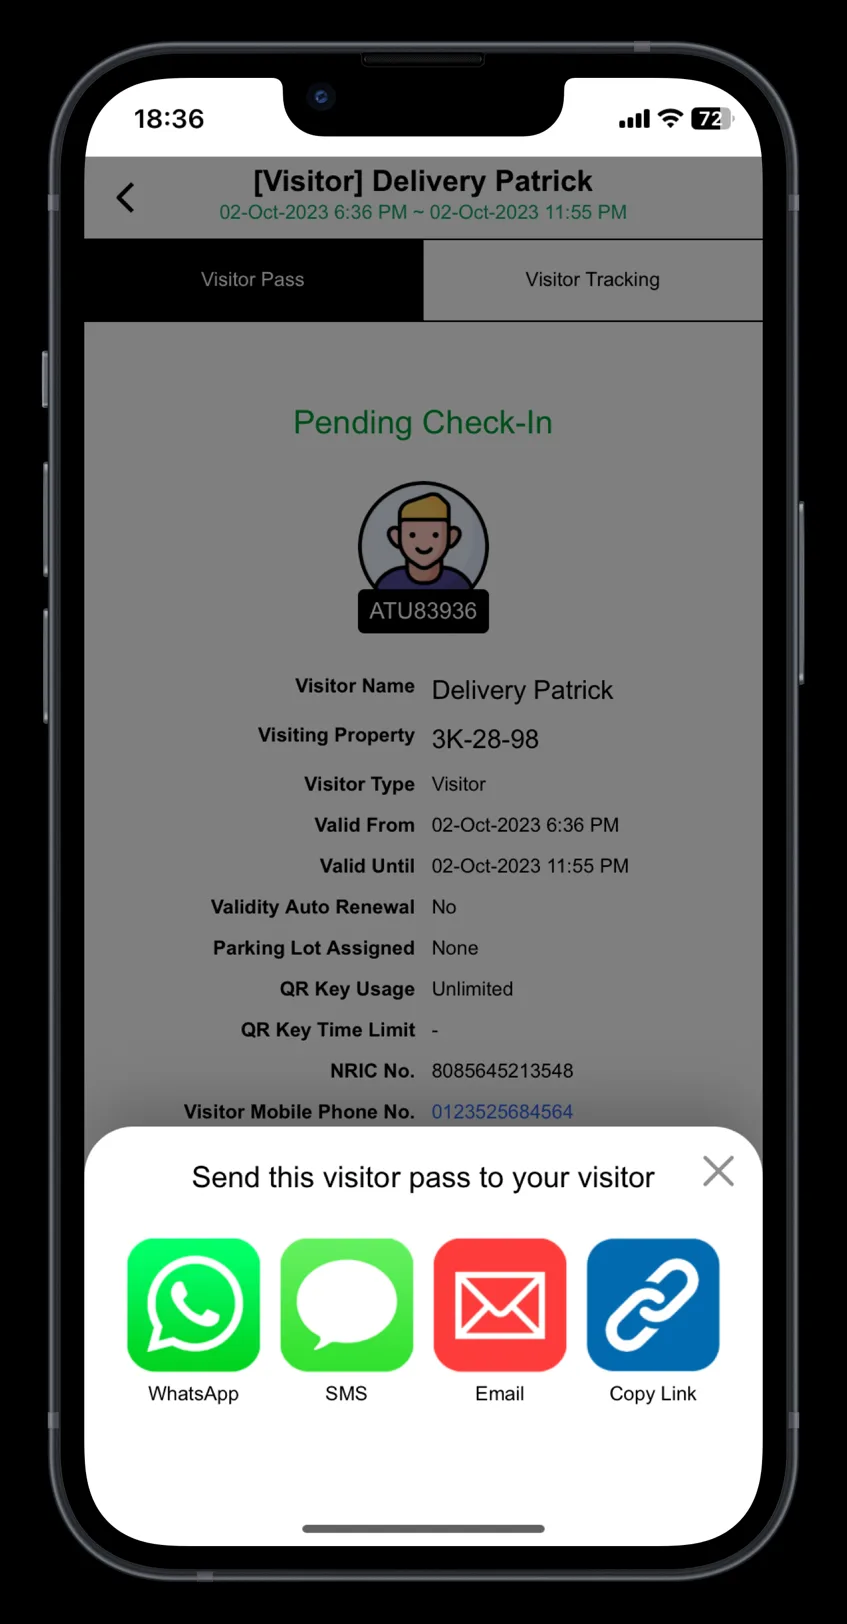
Step 6: Select messaging services
Select WhatsApp, WeChat, Email or SMS.
3. Check in with digital visitor pass
Step 1: Visitor Received Digital Visitor Pass
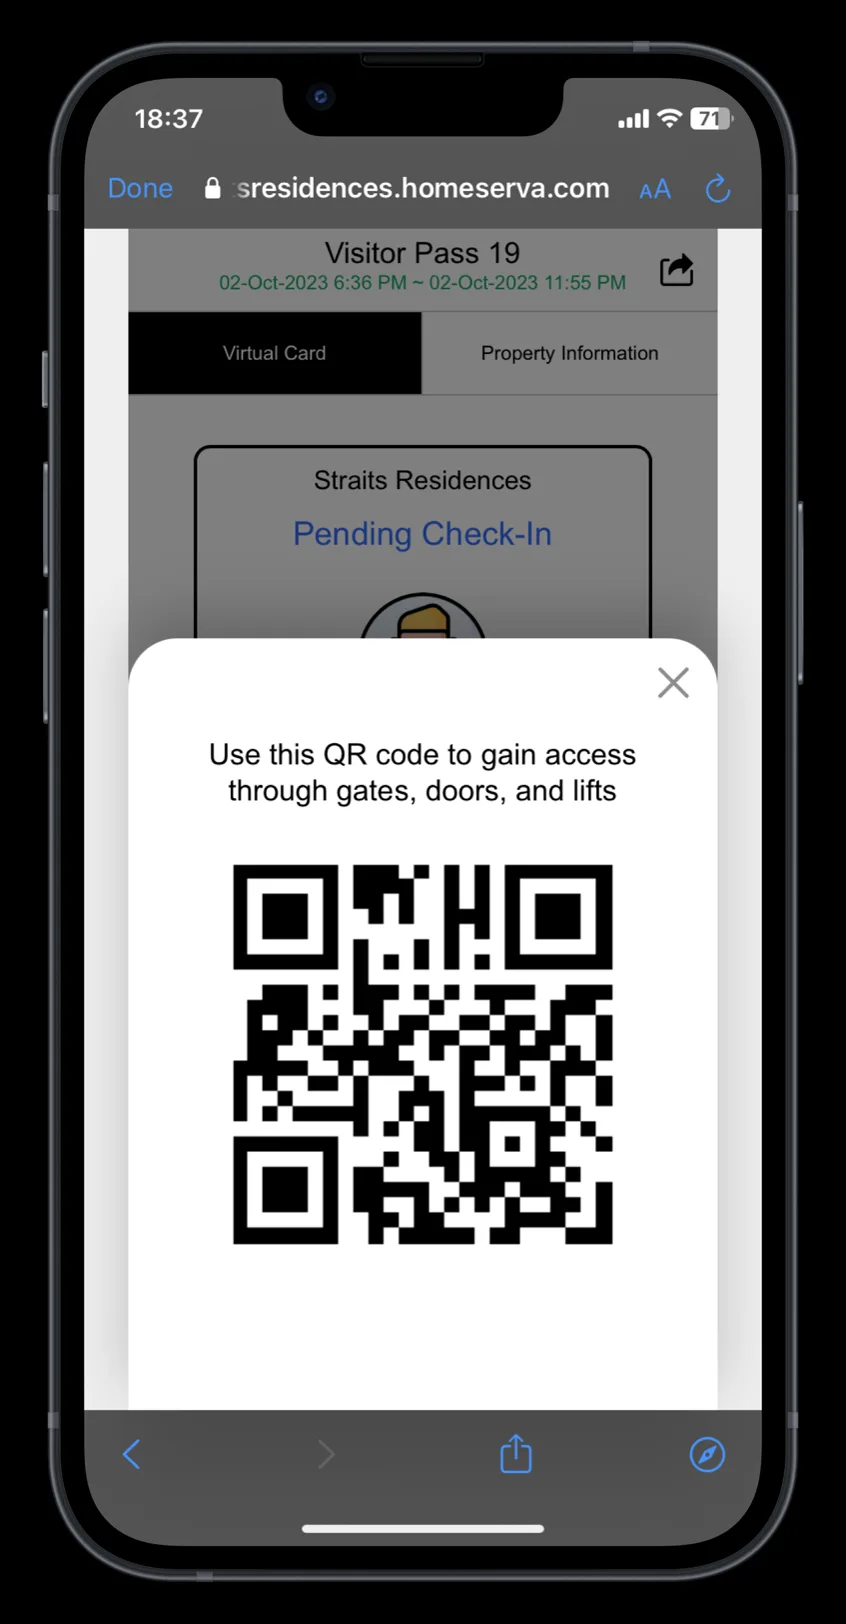
Visitor click the visitor pass link sent by the host. Click “QR Code” to generate QR Code to access the building.
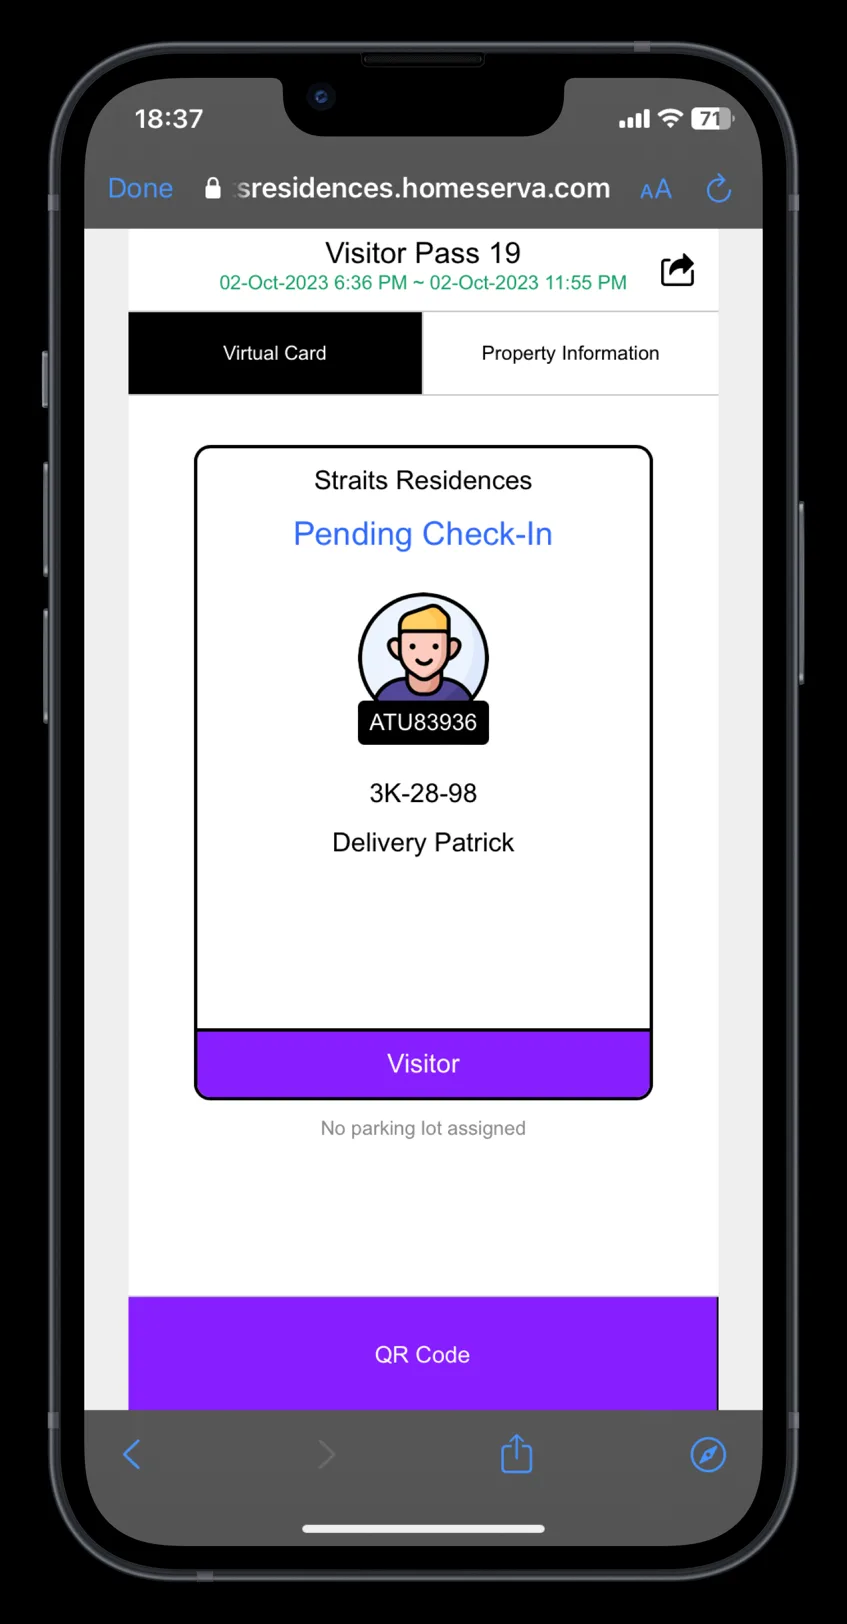
Step 2: Open Link and Generate QR Code Pass
When visitors present their QR Code Pass to the guard for check-in.
As part of our commitment to enhancing community security, the guard may request to capture details from their driver's license, ID card, passport, vehicle number plate or phone number before granting access by unlocking the gate.